API Keys
Turn on the API key feature and let users create and delete their own keys
Last updated November 3, 2026
API keys let users issue their own calling credentials. Keys live in the apikey table and plaintext never reaches the database — the plugin hashes the full key with SHA-256 before storing it, and the list endpoint returns only a prefix, so an issued key can never be read back.
Steps
- Turn on the feature flag.
``ts // src/config/website.ts features: { enableApiKeys: true }, ``
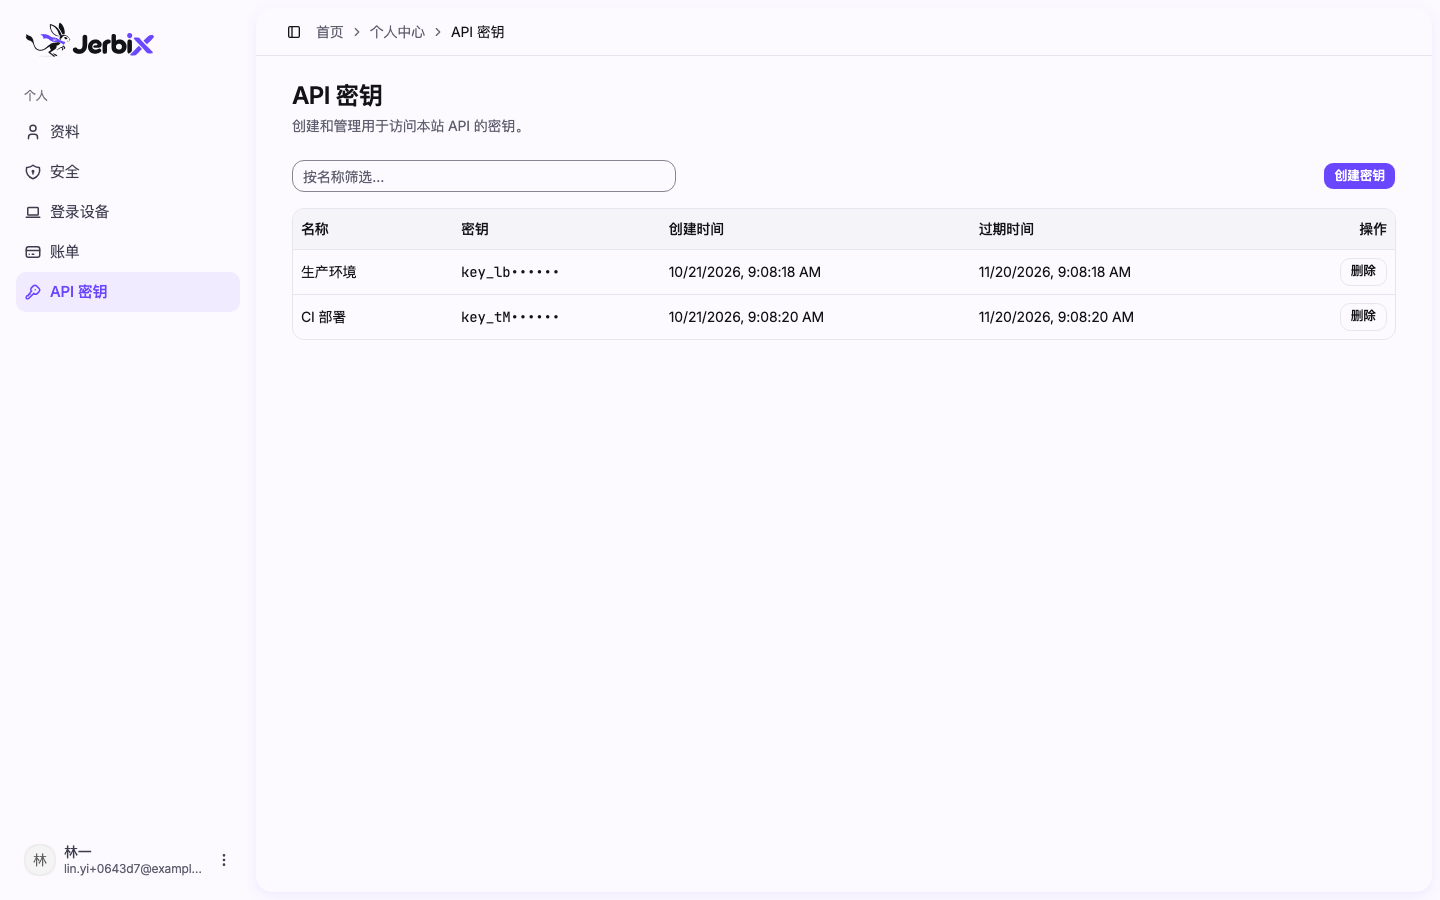
- Open the keys page. It lives at
/dashboard/api-keysand its entry sits in the account center sidebar. With the flag off, the page 404s and the whole/api/auth/api-key/*endpoint group 404s too (src/routes/api/auth/$.ts).
- Create. Enter a name and pick an expiry →
authClient.apiKey.create({ name, expiresIn }). Thekeyin the response is plaintext and appears only in that one response; the page shows it once in a dialog and then it is gone. A user who did not save it has to delete the key and create a new one.
- List.
authClient.apiKey.list()returns{ apiKeys, total, limit, offset }. Entries carry only thestartprefix; the page filters by name on the client.
- Delete.
authClient.apiKey.delete({ keyId }), behind a confirmation dialog. The plugin also exposesauthClient.apiKey.update({ keyId, enabled: false }), which disables a key without deleting the record.
Server-side verification
verifyApiKey is a server-only endpoint and can only be called on the server. The key itself goes in the request body; which header you read it from is your own route's decision. This repo does not define one, so the example below uses x-api-key:
const key = request.headers.get('x-api-key')
if (!key) return new Response('Unauthorized', { status: 401 })

const result = await getAuth(env).api.verifyApiKey({ body: { key } })
if (!result.valid) return new Response('Unauthorized', { status: 401 })
result looks like { valid: boolean; key: {...} | null; error?: { message, code } }. On failure valid is false and key is null, with the reason in error.code: KEY_NOT_FOUND / KEY_EXPIRED / KEY_DISABLED.
Expiry
expiresIn is measured in seconds (the page picks days and converts), and null means no expiry. The plugin converts it to days and compares it against the server-side bounds; anything outside them is rejected:
| Option | Default | Meaning |
|---|---|---|
keyExpiration.minExpiresIn | 1 | Smallest allowed day count; below it → EXPIRES_IN_IS_TOO_SMALL |
keyExpiration.maxExpiresIn | 365 | Largest allowed day count; above it → EXPIRES_IN_IS_TOO_LARGE |
keyExpiration.disableCustomExpiresTime | false | When true, client values are ignored |
keyExpiration.defaultExpiresIn | null | Fallback when the client omits a value (in seconds); null means no expiry |
Expiry only matters at creation time: the plugin converts it into an expiresAt timestamp, and the list reads that one timestamp, so there is no way to extend a key in the UI afterwards — delete it and create a new one. When you change the bounds, change apiKey({ keyExpiration }) in src/auth/auth.ts and EXPIRY_OPTIONS in src/routes/{-$locale}/_layout/dashboard/api-keys.tsx together, or users can pick a value the server is bound to reject.
Notes
- Turning off `features.enableApiKeys` only stops the HTTP endpoints. A direct server-side
verifyApiKeycall is a function call and bypasses the route gate, so already-issued keys still verify. To stop verification as well, checkwebsiteConfig.features.enableApiKeysin your own route. - Plaintext appears only in the create response and is never returned again.